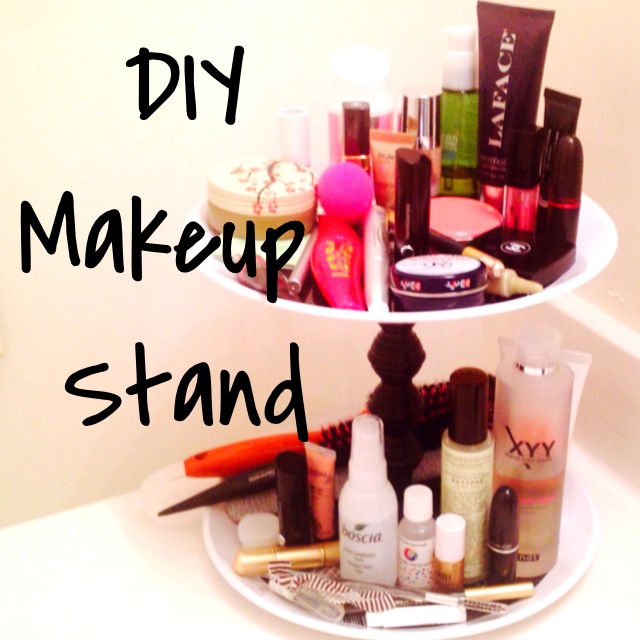
When it comes to do-it-yourself projects, I’m no Erica Domesek. Nonetheless, I do love her blog P.S. I Made This, and when I stumbled upon her tutorial for a makeup stand, I promptly bookmarked to it my Pinterest board. My makeup, hair care, and skin care products are usually strewn about on my dresser with little to no organization. Lucky for me the tutorial consists of four simple steps that ANYONE can do (seriously, if I can do it, so can you).
Here is what you need:
- 2 plastic plates
- 1 candlestick
- Krazy glue (the original tutorial says to use E6000 but it contains carcinogens; don’t worry, Krazy glue will get the job done).
How-To:
1. Apply a thin layer of Krazy glue to the base of the candlestick.
2. Place candlestick directly in the center of the plate (use a tape measurer for accuracy).
3. Repeat step 1 on top of the candlestick.
4. Adhere the second dinner plate on top the candlestick, making it sure it aligns with the bottom one.
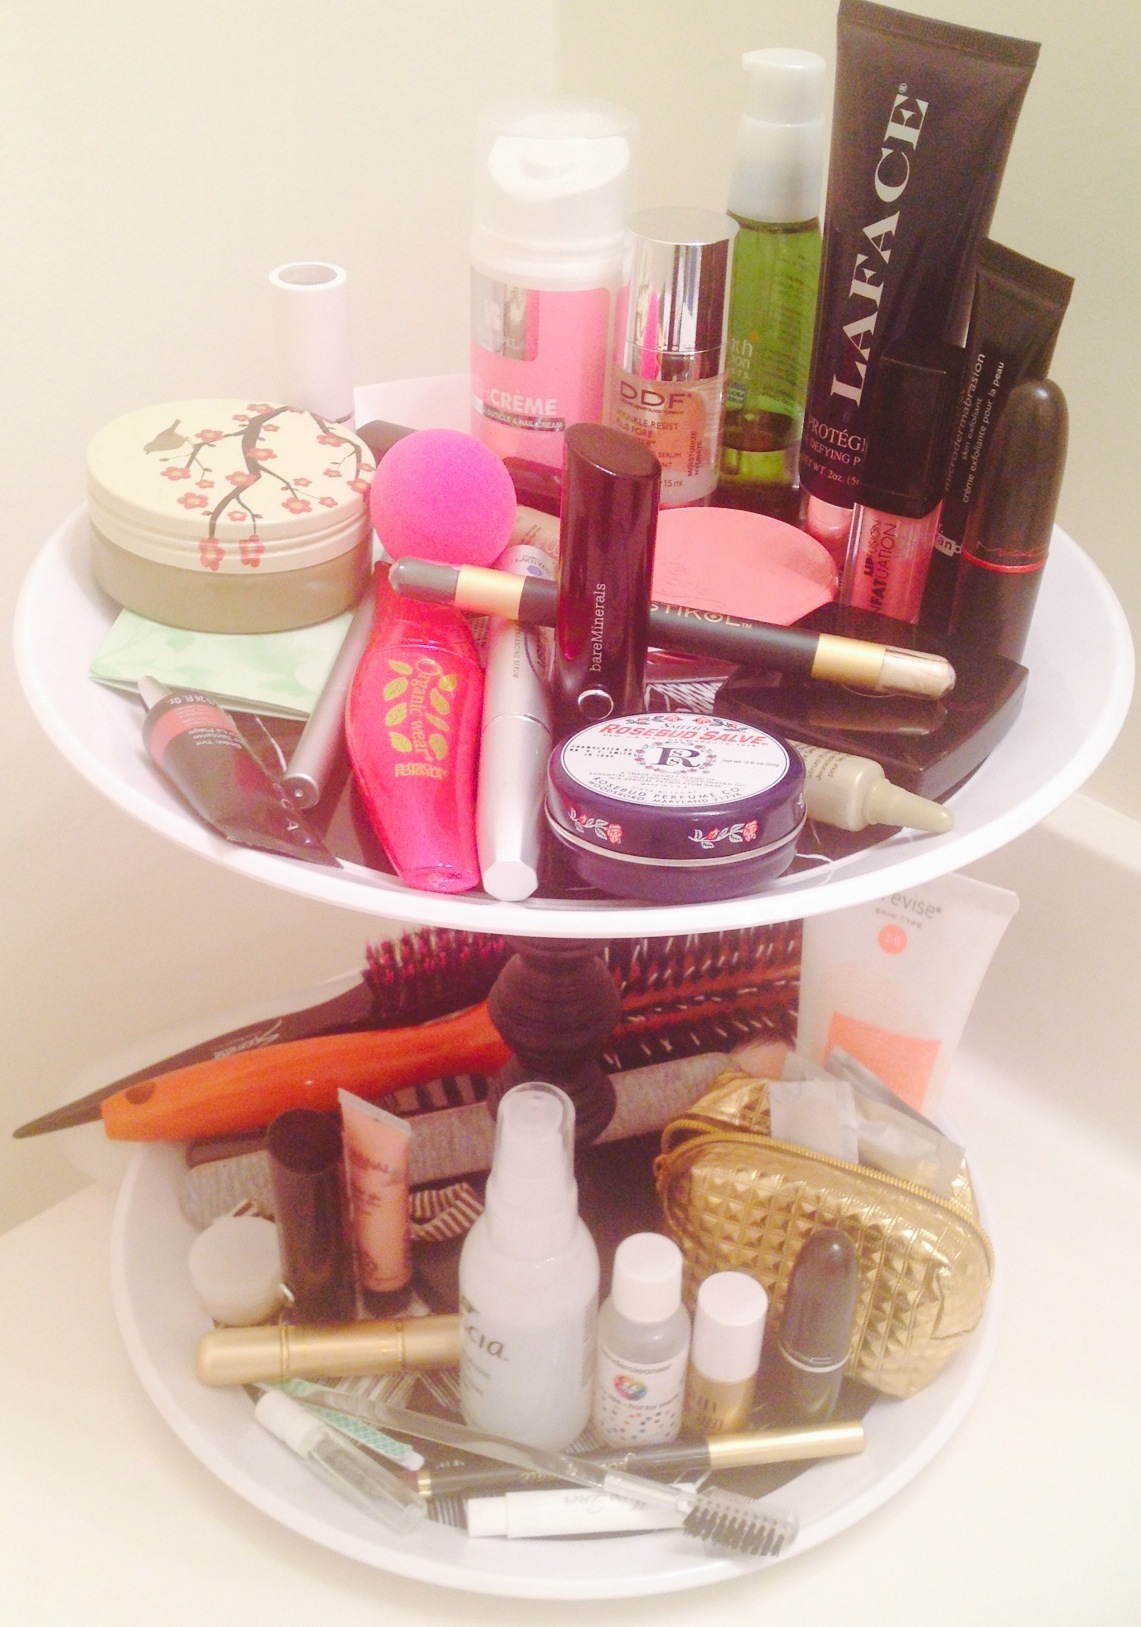
Allow 30 minutes to dry before storing your beauty products. Even though my makeup stand doesn’t hold everything (my cabinets and drawers are taking care of the rest) it does enough space for the products you reach for most. For example, the LAFACE Laboratories PROTEGER Primer is part of my morning ritual and is prominently displayed on the stand as are my lipsticks.
If your makeup stand isn’t perfectly symmetrical, don’t worry – mine isn’t either. Hey, asymmetry looks more interesting anyway.

